
A photographer’s guide to post-processing RAW files on the road with an iPad.
Street and travel photographers can benefit from a mobile workflow. This post was written in 2015. Since then there have been many changes to the way a mobile workflow can work. As I do not have the time at the moment to update it, there is still some valuable workflow processes indicated below.
We photographers are always on a quest for the next best gadget or method that will help trim off some time in our workflow. I think I’ve found one that will work for my workflow and I’d like to share it with you. I’m sure you can do this on Windows tablets as well but I mainly address the iPad users amongst us.
I wrote this post in response to an article that Bob Patterson, Publisher of Street Photographer Magazine. wrote. His article was called Street Photo Blogging On The Road (October 2015.)
BLESSING: The iPad is an incredible device. Every day I discover more apps for making things easier to do. I have so many different apps for editing photos that sometimes it’s hard to decide which ones I like best. Too much choice can be a challenge.
PROBLEM: The iPad has a limited amount of hard drive space. Those of us who have learned the benefits of shooting RAW files have come to the quick realization that an iPad hard drive can fill up pretty fast.
Street photography is not about making award winners out of every single photo you take! It’s about being selective and editing with a Ninja’s sword to just the one or two real keepers. That is why RAW shooters shoot in RAW; because they believe in spending the time to really work a single image to perfection before showing it to the world. Street shooters exemplify this because we come back with more near-misses than keepers. It is for that reason we must edit and delete; another situation will be along in a minute. The rest of the photos are just taking up space, you’ll never do anything with them—hack and slash!
The solution I will show you is more for the Ninja Editor, not the All Photos R Great editors. This method is not that fast unless you know what photos you want to work on.
What if you could work on just the photos you wanted to post—the singles, the keepers?

SOLUTION: Save your RAW files to an external hard drive. “Huh, exactly how do you plan to accomplish that and be able to work on the files on an iPad Mr. Flashman?” he said smiling quietly to himself.
- You are going to love this! The WD Passport Wireless is your ticket into iPad RAW file editing on an external hard drive. Follow me here:
- Take photos with your camera to your heart’s content but set your camera up so that it produces a RAW+JPEG file.
- Offload the SD card to the WD Passport Wireless (it will automatically ingest the files if you tell it to in the options.) When it’s done, you can put the card back in your camera and reformat it or put it on the side and use a clean card saving the first one as a backup copy.
- On your iPad start up the WD My Cloud app. This app lets you see the contents of the hard drive and more.
- Navigate to the folder containing the photos
- You will see the RAW and JPEG files. You shot the JPEGs so you could see a preview of each of the photos. You can’t see what is in the RAW file through the My Cloud browser at this point. If you were able to, you could set your camera to shoot RAW files only. Currently, you can’t so you need the JPEG version of the same file.
- Review the images and select the accompanying RAW file and then “Copy To…” which opens the RAW file in the application you select from the dropdown list (see illustration below.)
- NOTE: If you are using an iPhone, access to the Share icon (the square with the up-arrow) could be delayed a little while the RAW file is getting acquired. Be patient and the icon should light up when it’s ready to let you have access to the dropdown menu.
- Make adjustments, retouch, add metadata if you want, etc.
- Photogene4 allows you to export your image to many different sizes, different file names, resolutions, external cloud systems, social media, etc.
- NOTE: I did not see a way to export a file directly to my WordPress site but that might be because I don’t have the right app installed yet. There is an option to FTP it but it appears to dump the file in the root directory with no option to select a different directory—I hope they add that ability. Read more about the apps I use for this workflow in my next post Mobile RAW Workflow Diagram linked at the end of this post.
CONCLUSION
Working with RAW files from my Sony RX100MIII (20mp) is easy using this workflow. It has given me the ability to edit and publish on location, but just because I can, doesn’t mean I should. That’s another topic for another day.
I was able to export files to Flickr, Facebook, my Photos folder on the iPad, FTP to the root of my website, Evernote, and Dropbox just to name a few of the available locations. I’m excited about putting it to real world use—it’s all been a discovery process to this point. To show you the less is more about this setup; I only need my camera, WD Passport Wireless, and my iPad to be able to shoot in RAW, edit (creatively), and publish. Now that can’t be a bad thing.
CONCERNS
- Lightroom Integration: I did not see a way to get files into Lightroom Mobile during the importing (“Copy to”) or during exporting the final scaled file. That would be great if I could have Lightroom marry up the RAW files and go back to my home computer.
- Bigger Files: I’ll have to see how well this workflow handles the 37mp files from my Nikon D810. That said, I really purchased this solution for Street Photography and not commercial work, but I know the SD offload will come in handy on commercial shoots with the D810.
![]() CAN RAW FILES BE TRANSFERRED FROM SONY TO THE HARD DRIVE WIRELESSLY?
CAN RAW FILES BE TRANSFERRED FROM SONY TO THE HARD DRIVE WIRELESSLY?
Nada! Nill! There is a feature on the camera called WPS Push. You have to first set up an Access Point connection to the wireless hard drive from within the camera menus before doing the push. I did that successfully—it appeared the camera and the hard drive were talking to each other. However the WPS Push will not work. It’s not possible without the Sony PlayMemories app installed on the hard drive. This is an app that is used to transfer files from the camera to the mobile device (or computer) it manages the transfer of the files, not the connection of the devices.
The PlayMemories app works fine as long as the computer or iPad has the app on it. Even if you shoot just RAW files or RAW+JPEG, the app will only transfer a JPEG file (even from the RAW file) to your mobile device. Your computer; it will transfer both RAW+JPEG files. What this means boys and girls is you can still sho0t a RAW+JPEG workflow and get a quick offload directly to your mobile device AND insert the SD card into the WD Passport Wireless and have it offload everything where you can work on the RAW files later.
You can’t transfer (wired or wireless) to the WD Passport Wireless hard drive because the app can’t be installed on that hard drive. I suppose it might be possible if the hard drive had an operating system on it but then the wireless features might now work—too much work to find out.
Read my follow-up post-Mobile RAW Workflow Diagram where I discuss the apps I use in this process.
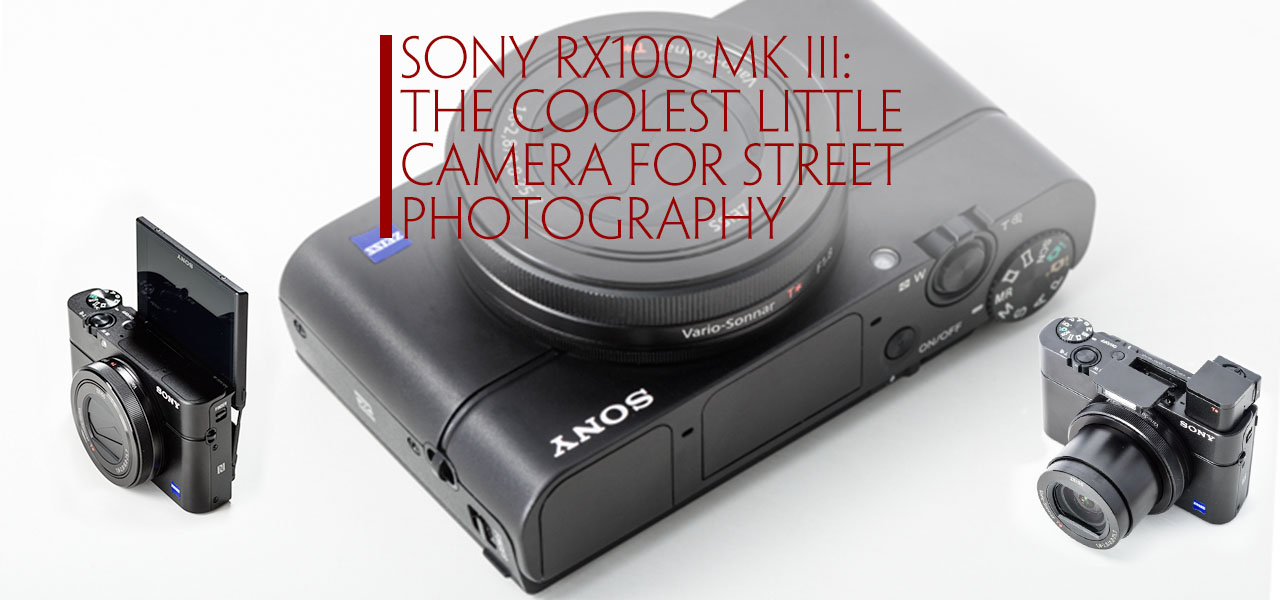
The Sony RX100 MK III: Coolest Camera For Street Photography
The Sony RX100 MK III has pro features the street photographer will appreciate. Learn why and how to set-up this neat little camera for rapid stealth usage.
Onward and Upward
Getting Acclimated
How learning your mate’s sleeping habits can get you time alone on your vacation to take the photos you really want.

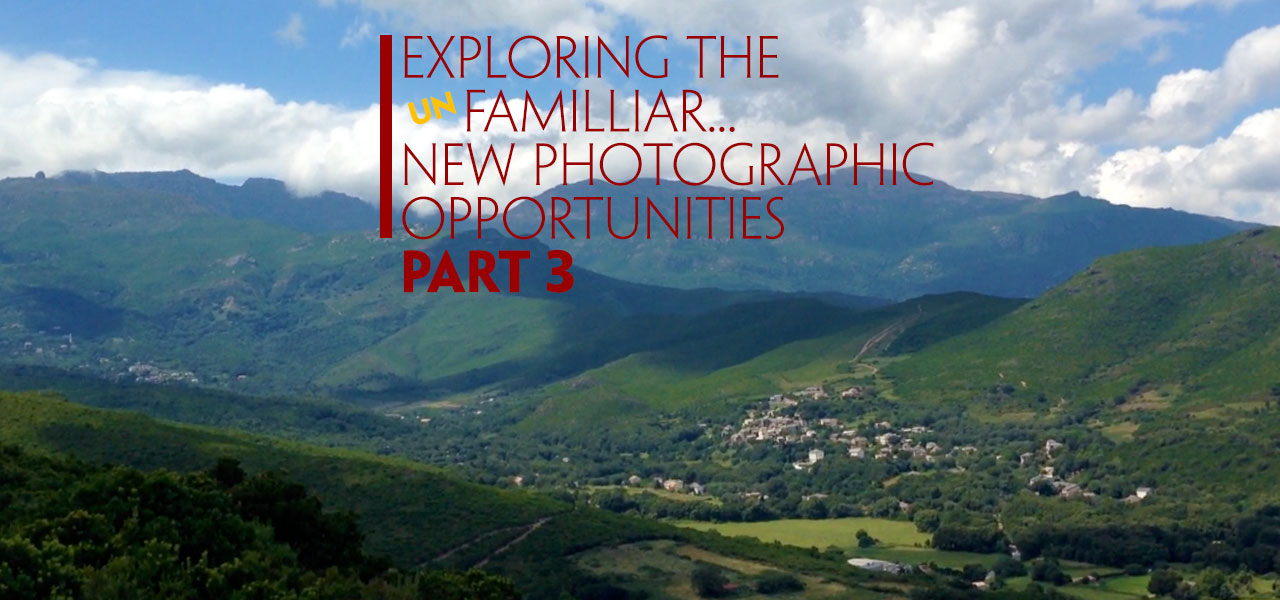
Exploring The UN-Familliar
How you can discover new photographic opportunities by revisiting the same location. Strategies for finding the time to get out on your own.

Discovering the “Passages” In Your Life
“Passages” is a portfolio of images by Photographic Artist Mark Gilvey that invites us to discover the connections we walk through while going from one point to another.

Getting a Second Opinion, Opinion
Trackbacks/Pingbacks