How to find the right photograph with your eyes closed—by typing.
In an earlier post; 10,000 Images – Organizing with Digital Asset Management I explained how I “ingest” my images into my DAM. This was the first step I took in organizing my photographs. The next step in the ingestion process is to figure out a way to organize all 10,000 assets so that I could find just the right image for a project. How can this be done if all I have are visual representations of each asset?
What if I could do a search on my hard drive for “doors” or “landscapes” and have just those images display. What if I wanted to search for a specific image using a word in French? What if I wanted to find photos I’ve taken of a particular city over a specific time period, in the rain or at night? My computer knows that file xyz.dng has pixels of various values, it even knows what camera it came from, exposure, f-stop, color space, date & time, and more but it has no clue of what the photo is of. If my computer could read all that data, to me I wouldn’t know anything about what the photo was of. Only I know what the photo is of because I can see it, but I can’t remember what is in every photograph so how can we bridge these two issues?
Wouldn’t that be a great way to narrow down the selection process? By inputting metadata or as I affectionately call it “meat data” because I constantly transpose the letters “a” and “t” when I type. That said, it really is the “meat” of what you will search for so it makes complete sense in a sans-vegan way. By adding this descriptive text to each and every asset, each file begins to have more meaning and can then be searched.
Assets vs. Photographs
Identifying The Right Keywords and Phrases
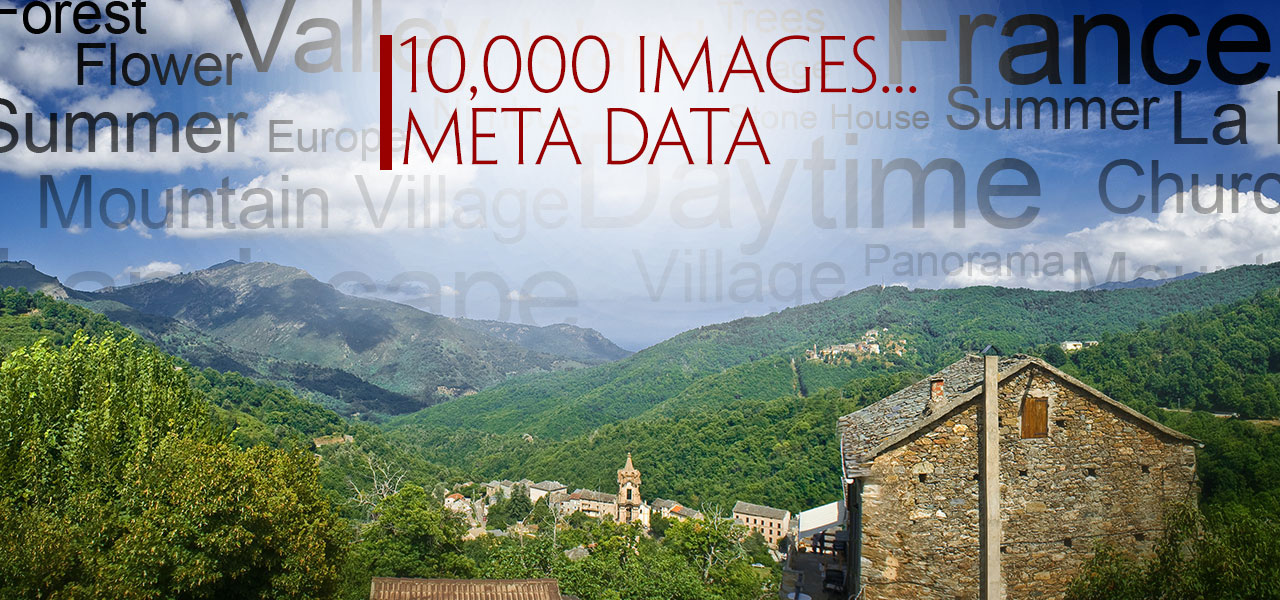
Look at the photo at the top of this page and ask yourself what words you would use to find it. Your words will be different from mine. Let’s peel the image back metaphorically speaking and see what keywords I would add as metadata into this file.
The next step was to find each and every image and apply metadata. You heard me right; every single image. Did it take a long time? Yes it did. Here is how to apply metadata to a large group of images:
Global Meta Data: Your name, copyright, contact info, the country photo was taken. Information that applies to every image you shot.
- Regional MetaData: State photo was taken in, was it in an area that is described as North or South. Information that is common among several groups of images.
- Local MetaData: City or suburb photo was taken in. Information that is common among smaller cluster groups.
- Individual MetaData: characteristics, person, place, thing, object, company name, color, age. Information that is specific to an individual image.
 You can input metadata to describe the photo down to a molecular level but do you need to go that far? It all depends on how much data you want to input and what your goals are. These are your images; you need to decide how you want to be able to search for them. If you have photos of your family members, for example, ask yourself how far you want to be able to isolate them; name, male/female, age, age group, profession, eye color, hair color, etc. Then apply this method to your other images. For example, if you photograph landscapes you might input the following: mountain range, name of the range, name of the mountain, sunny, overcast, morning, evening, snow cap, elevation, etc.
Other things you might want to include would come from just looking at the image and describing it; does it have a river, stream, or waterfall? Are there clouds? What kind of clouds? Cumulus, nimbus, stratus, or alto-stratus? Do you even care about what kind of clouds are in the photo?
A good place to start is by imagining you had to tell a blind person what was in your photograph—in this case, you are telling your computer what is in the photo. But since they are your photos, if you are the only one who needs to be able to search, then you can omit things you don’t know or have the time to research; you can replace them with hints. For example, let’s say you have a photo of Mt. Whatchamacallit and it’s 25,000 feet high. But you don’t feel like looking it up so you can add “5,000 feet” to the metadata. You can just type “really tall” because you might want to be able to find all photos of mountains that are “really tall” and wham, there is your photo of Mt. Whatchamacallit and any other photo you applied that keyword phrase to.
Ingestion is a critical step in your overall workflow. Yes, it sure does take a long time so you need to set up goals for yourself. Figure out how you will want to find things and keyword them based on this.
LINKS OF INTEREST
Henrik de Gyor’s Another DAM Blog

Street Photography Podcast Interview
In early November 2021, I had the honor of being interviewed by Bob Patterson, editor of Street Photography Magazine.

Straight Out Of Camera?
Pt. 3 How my photograph won the 2021 Fredericksburg Street Photography Collective Shoot-Off
Pt. 2 How my photograph won the 2021 Fredericksburg Street Photography Collective Shoot-Off

Pt. 1 How my photograph won the 2021 Fredericksburg Street Photography Collective Shoot-Off
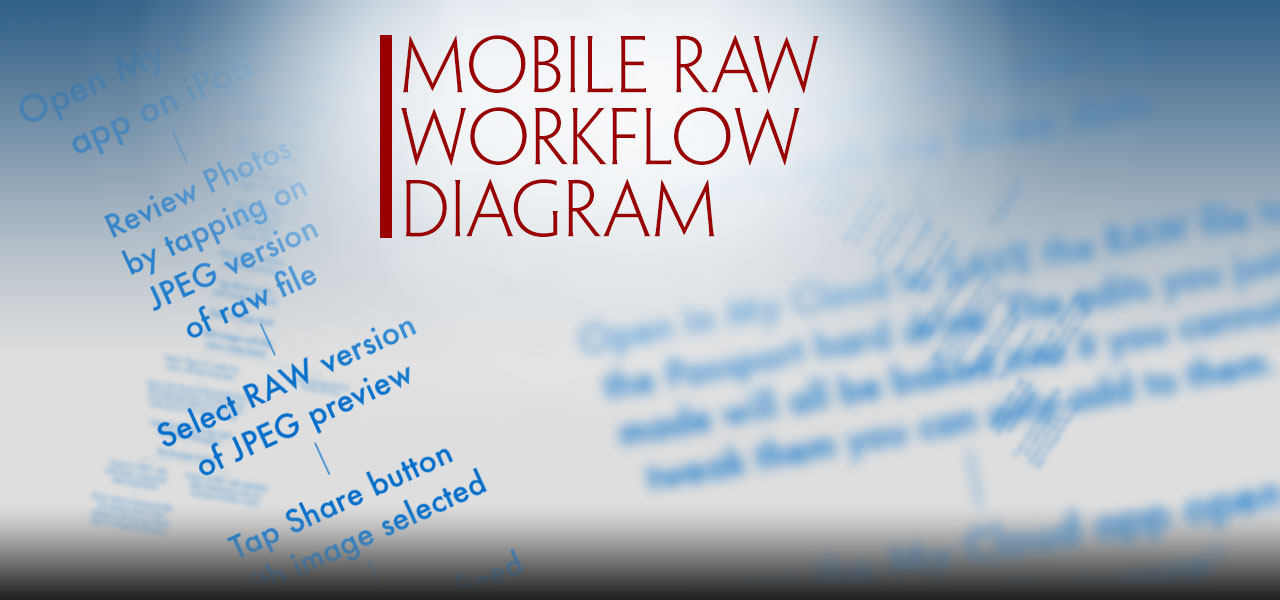
Mobile RAW Workflow Diagram
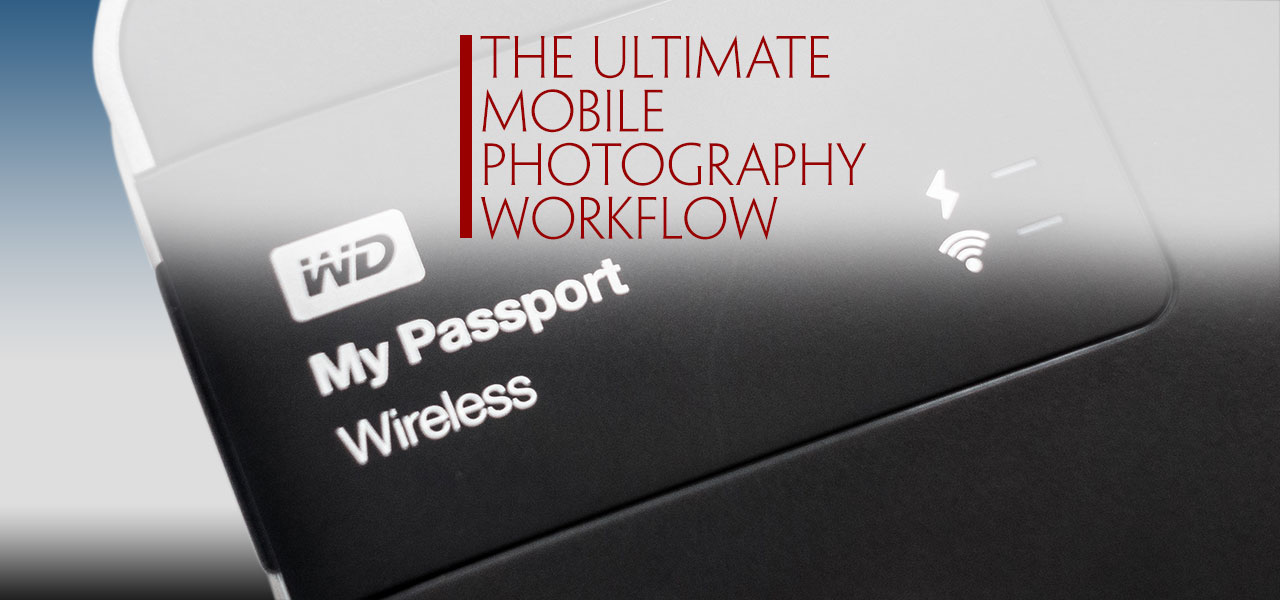
The Ultimate Mobile Photography Workflow
Are you trying to figure out how to connect an external hard drive to your iPad? Do you need more dive space to save your photos? In this post, Mark Gilvey (Mark Gilvey Fine Art Photography) shows you how to bring a RAW file workflow to your iPad.